Vaping has transformed from a simple alternative to smoking into a deeply personalized experience, with a plethora of flavors that cater to every palate. Among these, dessert-flavored vape juices have carved out a significant niche, offering the sweet, indulgent essence of your favorite treats without the calories. In this guide, we delve into one such delightful concoction — a coconut cake vape juice. This DIY recipe not only promises a delectable vaping experience but also provides the satisfaction of creating something uniquely yours.
The allure of crafting your own vape juice lies in the control it offers — tweaking the intensity of flavors, adjusting the throat hit, and perhaps most importantly, ensuring the quality of ingredients used. Whether you’re a seasoned vaper or a curious newcomer, this guide will walk you through the process of making your very own coconut cake vape juice, blending the creamy, tropical notes of coconut with the sweet, comforting base of cake, all enveloped in a smooth vapor.
Benefits of DIY Vape Juice Recipes
Creating your own vape juice is an increasingly popular choice for several compelling reasons:
- Cost-Effectiveness: Homemade vape juices are significantly cheaper per ml compared to their commercial counterparts.
- Customization: DIY mixing allows you to adjust flavors, nicotine strengths, and PG/VG ratios to suit your personal preferences.
- Safety and Purity: By choosing your own ingredients, you avoid the unknown additives and chemicals that may be present in some commercial juices.
Join us as we embark on this flavorful journey to create a rich and aromatic coconut cake vape juice that promises to elevate your vaping experience to new heights of pleasure.
What You Need to Know Before Crafting Vape Juice
Before diving into the delightful process of mixing your own coconut cake vape juice, it’s essential to understand the basics of what vape juice is and its core components. Vape juice, also known as e-liquid or e-juice, is the fluid used in vaporizers and electronic cigarettes to create vapor. This vapor is what you inhale, carrying with it the chosen flavors and nicotine content (if added).
Basic Components of Vape Juice
Here’s a breakdown of the typical ingredients found in vape juice:
- Vegetable Glycerin (VG): A thick, sweet liquid, VG is responsible for the amount of vapor produced. Higher VG content results in denser clouds.
- Propylene Glycol (PG): PG is a thinner liquid that carries flavor more effectively than VG and provides the throat hit that many ex-smokers crave.
- Flavorings: These are what define your vape juice’s taste. For coconut cake vape juice, you would use a blend of coconut and cake flavor concentrates.
- Nicotine (optional): If you choose to add nicotine, it comes in liquid form and can be mixed into your vape juice at desired strengths.
Safety Tips for Handling Ingredients
When dealing with chemicals such as nicotine, it’s crucial to follow safety guidelines to avoid unnecessary risks:
- Wear Gloves: Nicotine is absorbable through the skin and can be hazardous in high concentrations.
- Use Clean Equipment: Always use clean syringes, containers, and surfaces to prevent contamination.
- Proper Storage: Keep nicotine and flavor concentrates away from children and pets, and store them in a cool, dark place to preserve their quality.
Understanding these basics sets a solid foundation for your DIY vaping adventure, ensuring not only a delightful but also a safe experience.
Essential Tools and Ingredients
Crafting your own vape juice can be an exciting and rewarding endeavor, but having the right tools and ingredients is crucial for success. Here’s a comprehensive list to help you get started on your coconut cake vape juice.
Tools Needed for DIY Vape Juice:
- Syringes: For precise measurement and transfer of liquids.
- Gloves: Preferably nitrile or latex, to protect your skin from nicotine and other irritants.
- Mixing Containers: Glass or PET plastic bottles for mixing and storing your vape juice.
- Labels: To mark your creations with the mix date, flavor, and nicotine strength.
- Digital Scale: If you prefer mixing by weight, a digital scale accurate to 0.01g is essential.
Ingredients List:
- Vegetable Glycerin (VG): The base for creating thick vapor clouds.
- Propylene Glycol (PG): Enhances flavor delivery and throat hit.
- Coconut Cake Flavoring: A concentrated flavor to give your vape juice that distinctive coconut cake taste.
- Nicotine Liquid (optional): For those who prefer nicotine in their vape juice, available in various strengths.
Purchasing Ingredients:
It’s important to source high-quality ingredients to ensure the best flavor and safety of your vape juice. Here are a few tips:
- Reputable Suppliers: Purchase VG, PG, and nicotine from reputable vendors known for their purity and quality.
- Flavor Concentrates: Buy flavorings specifically designed for vaping; avoid food flavorings, which may contain oils or other harmful substances when vaporized.
- Online Vaping Communities: Forums and online communities can offer vendor recommendations and reviews, helping you make informed decisions.
With these tools and ingredients, you’re well-prepared to start mixing your own coconut cake vape juice. This setup not only ensures that you can produce high-quality and safe vape juice but also gives you the freedom to experiment with different flavor concentrations and PG/VG ratios.
Step-by-Step Guide to Making Coconut Cake Vape Juice
Creating your own vape juice is an art that combines precision with a touch of creativity. Follow this detailed guide to mix your first batch of coconut cake vape juice.
Introduction to Mixing
Before you begin, ensure you have all your tools and ingredients at hand. Start with a clean, clear workspace to prevent any cross-contamination or errors in measurement.
How to Measure Each Ingredient:
- Using Syringes: Draw the precise amount of VG, PG, flavoring, and nicotine (if using) into separate syringes for accurate measurements.
- Using a Digital Scale: If measuring by weight, each component has a specific gravity which you should account for in your calculations (VG is heavier than PG).
Tips on Achieving the Right PG/VG Ratio:
- Throat Hit vs. Vapor Production: A higher PG ratio enhances flavor and provides a stronger throat hit, while a higher VG ratio produces thicker vapor clouds.
- Device Compatibility: Ensure the PG/VG ratio is suitable for your vaping device, as some coils work better with specific ratios.
Mixing Your Base
- Start with VG and PG: According to your desired ratio, mix the VG and PG first. For a balanced mix, a 50/50 ratio is a good start, but you can adjust depending on whether you prefer more flavor or vapor.
- Stir Gently: Mix the VG and PG gently to avoid creating air bubbles, which can affect the consistency of your vape juice.
Adding Flavors
- Adding Coconut Cake Flavoring: Carefully add your coconut cake flavor concentrate. Start with a lower percentage (around 10-15% of your total mixture) and adjust based on taste.
- Mix Thoroughly: After adding the flavoring, stir the mixture gently. Ensure the flavor is evenly distributed throughout the base.
Nicotine Addition
- Safety First: If you choose to add nicotine, wear gloves and add the nicotine slowly to your mixture.
- Mix Well: Ensure the nicotine is thoroughly mixed with the base and flavoring to avoid hotspots of concentrated nicotine.
Steeping Your Vape Juice
- What is Steeping? Steeping allows the flavors to meld and mature, resulting in a more cohesive and developed taste.
- Methods of Steeping: You can steep your vape juice by storing it in a cool, dark place and shaking it occasionally. The steeping process can take anywhere from a few days to several weeks.
Final Steps
- Storage: Once steeping is complete, transfer your vape juice into a clean bottle, label it with the mix date and ingredients, and store it in a cool, dark place.
- Testing and Adjusting: Test your vape juice with your device. If the flavor or throat hit isn’t as desired, you can make small adjustments to the flavoring or PG/VG ratio.
This step-by-step process will guide you through creating a flavorful and enjoyable batch of coconut cake vape juice. Experiment with different variations to perfect your personal recipe.
Troubleshooting Common Issues
When crafting your own vape juice, you might encounter a few common issues. Understanding how to identify and resolve these problems can enhance your DIY experience and improve the quality of your vape juice.
Addressing Flavor Problems
- Weak Flavor: If your vape juice tastes too weak, increase the percentage of flavor concentrate slightly. Remember, it’s easier to add more flavor than to remove it, so adjust in small increments.
- Overpowering Flavor: If the flavor is too strong, you can dilute the mixture by adding more VG or PG. Alternatively, let the juice steep for a longer period, as this can sometimes mellow overly strong flavors.
- Chemical Taste: A chemical or perfume-like taste can result from not letting your vape juice steep long enough. Allow it more time, and ensure that your flavor concentrates are suitable for vaping and not meant for food.
Adjusting PG/VG Ratios
- Harsh Throat Hit: If the throat hit is too harsh, decrease the amount of PG in your mixture, as PG enhances throat hit. Increasing the VG content can also help smooth out the vape.
- Poor Vapor Production: If you’re not getting enough vapor, increase the VG ratio. VG is responsible for producing thick, satisfying clouds.
Remixing Batches
- Batch Corrections: If a batch doesn’t meet your expectations, don’t discard it. Adjust the flavor or dilute with more base to correct the balance. This can be a trial-and-error process.
- Note Taking: Always keep notes on your adjustments. This will help you refine your recipe over time and replicate your successes.
Understanding these troubleshooting techniques can save you time and resources, and help you perfect your DIY vape juice recipes.
Benefits of Making Your Own Vape Juice
There are several advantages to making your vape juice at home, extending beyond the sheer enjoyment of the creation process.
Cost-Effectiveness
- Economic Savings: Homemade vape juice is significantly cheaper than commercial options, especially when buying ingredients in bulk.
Customization
- Tailored Experience: DIY allows you to create vape juices that are perfectly suited to your taste and nicotine preferences.
- Unique Flavors: You can experiment with various flavor combinations that might not be available commercially.
Quality Control
- Ingredient Transparency: When you make your own vape juice, you know exactly what’s going into it, allowing you to avoid unwanted additives and chemicals.
Satisfaction
- Creative Outlet: Mixing your own vape juice can be a fulfilling hobby that allows you to experiment and innovate.
- Sharing with Community: DIY vaping is a shared interest within many vaping communities, offering opportunities to connect with others and exchange tips.
Safety and Legal Considerations
When creating vape juice, it’s important to be aware of safety protocols and legal considerations.
Safety Guidelines
- Handling Nicotine: Nicotine is toxic in high doses. Handle it with care, use protective gear, and store it safely out of reach of children and pets.
- Clean Environment: Keep your mixing area clean and organized to prevent cross-contamination.
Legal Status
- Regulations: Check local laws regarding the handling and mixing of nicotine and e-liquids, as these can vary significantly by region.
- Age Restrictions: Ensure you comply with age restrictions for buying and using vaping products.
By adhering to these guidelines, you can safely enjoy creating your own vape juices.
Conclusion
Embarking on the journey of creating your own coconut cake vape juice can be an enriching experience that offers more than just the pleasure of vaping. It provides a unique opportunity to customize your flavors, control what goes into your juice, and enjoy the satisfaction of a homemade product. Whether you’re a novice or an experienced vaper, the process of mixing your own e-liquid can be a fulfilling hobby that not only saves money but also enhances your overall vaping experience.
Encouragement to Experiment
Remember, the beauty of DIY vape juice is in the experimentation. Each batch offers a new opportunity to tweak and perfect your recipe. Don’t be afraid to try different variations of coconut cake flavor, adjust your PG/VG ratios, or experiment with new flavor combinations. The possibilities are virtually endless, and with each mix, you’ll learn more about what works best for your personal taste.
Final Tips
- Be Patient: The steeping process is crucial. Give your vape juice enough time to mature, as this can dramatically improve the flavor.
- Stay Organized: Keep detailed records of your recipes and the outcomes. This will help you replicate your successes and learn from any missteps.
- Join Communities: Engage with other DIYers. Online forums and local vaping communities are great resources for tips, tricks, and support.
By embracing these practices, you can maximize your enjoyment and success in making DIY vape juice. The coconut cake vape juice recipe provided here is just a starting point. As you gain confidence, you’ll find that making your own vape juice is not just about enjoying the end product but also about reveling in the creative process.
Final Thoughts
Whether you’re looking to cut costs, control your vape juice ingredients, or simply enjoy a new hobby, DIY e-liquid making can be a rewarding venture. With the right tools, a bit of knowledge, and plenty of creativity, you can craft not just delicious but also personalized vape juices that are perfectly suited to your vaping style and flavor preferences.
Print
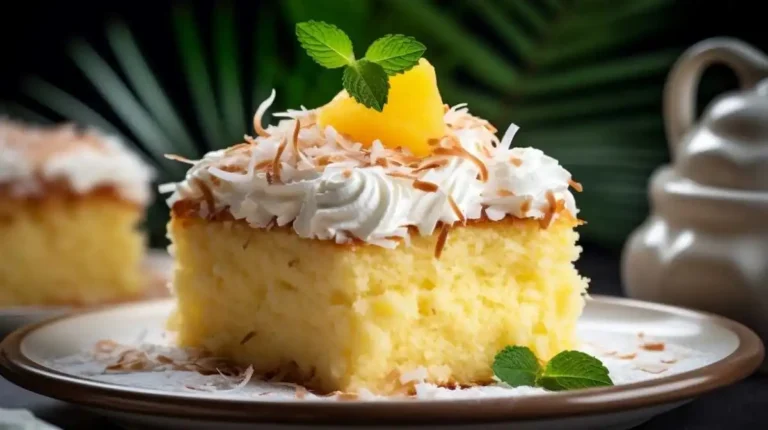
Crafting the Perfect Coconut Cake Vape Juice: A Comprehensive DIY Guide
- Total Time: 50 minutes
- Yield: 12 1x
Description
Ingredients
- 1 cup unsalted butter, softened
- 2 cups granulated sugar
- 4 large eggs, room temperature
- 3 cups all-purpose flour
- 2 teaspoons baking powder
- 1/2 teaspoon salt
- 1 cup coconut milk
- 1/2 teaspoon vanilla extract
- 1/2 teaspoon coconut extract
- 1 cup unsweetened shredded coconut
For the frosting:
- 1 cup butter, softened
- 4–5 cups powdered sugar, sifted
- 1/4 cup coconut milk
- 1 teaspoon vanilla extract
- 1/2 teaspoon coconut extract
- Shredded coconut for garnish
Instructions
- Preheat your oven to 350°F (175°C). Grease and flour two 9-inch round cake pans.
- Cream the Butter and Sugar: In a large bowl, beat the butter and sugar together until light and fluffy, about 3-4 minutes.
- Add Eggs: Add the eggs one at a time, beating well after each addition.
- Combine Dry Ingredients: In another bowl, sift together the flour, baking powder, and salt.
- Mix Wet and Dry Ingredients: Alternately add the dry ingredients and coconut milk to the butter mixture, starting and ending with the dry ingredients. Mix until just combined.
- Add Extracts and Coconut: Stir in the vanilla and coconut extracts, then fold in the shredded coconut.
- Bake: Divide the batter evenly between the prepared pans. Bake for 25-30 minutes, or until a toothpick inserted into the center comes out clean.
- Cool: Allow the cakes to cool in the pans for 10 minutes, then turn out onto wire racks to cool completely.
- Make the Frosting: Beat the butter until smooth. Gradually add powdered sugar, one cup at a time, alternating with coconut milk and mixing well after each addition. Stir in the vanilla and coconut extracts.
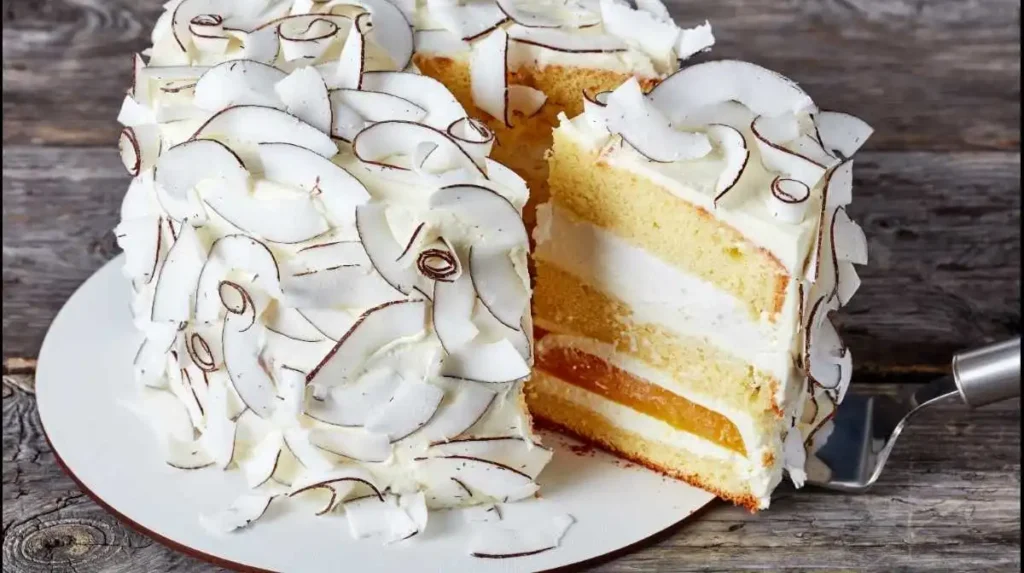
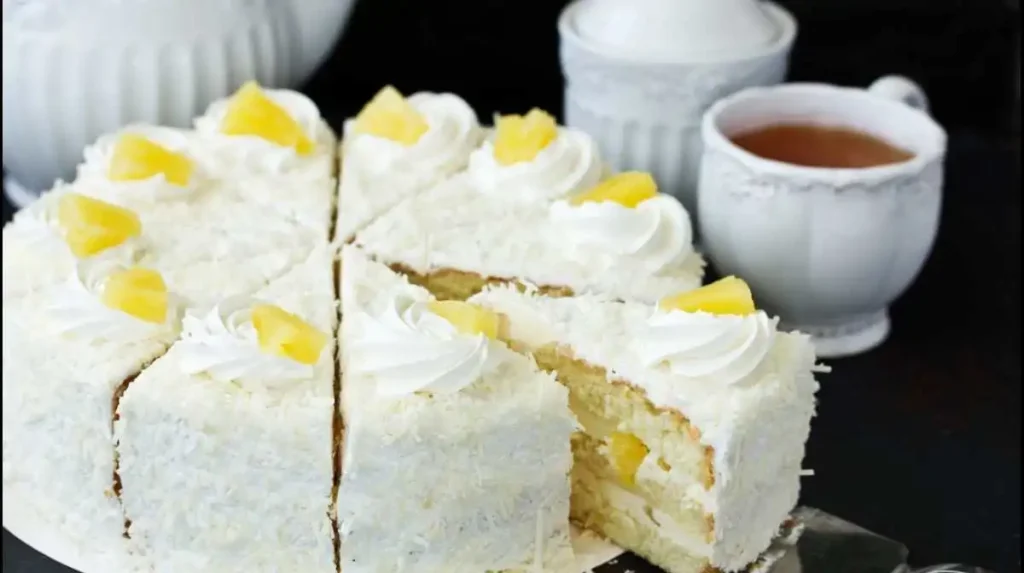
- Assemble the Cake: Once the cakes are completely cool, spread frosting between the layers, on the sides, and on top of the cake. Sprinkle with shredded coconut for garnish.
Notes
- Cake Flour Alternative: For a lighter texture, you can use cake flour instead of all-purpose flour.
- Storage: This cake can be stored at room temperature for up to 3 days or refrigerated for up to a week.
- Prep Time: 20 minutes
- Cook Time: 30 minutes
- Category: Desserts
Nutrition
- Serving Size: This recipe yields about 12 servings.
- Calories: Approximately 600 calories per serving (including frosting).
Keywords: coconut cake e-liquid recipe, DIY coconut vape juice, homemade coconut cake vape flavor